In the 22nd century, there's hardly anything you can't do independently. So why spend extra money on professional photographers for headshots?
In today’s world, DIY headshots at home have become a common trend, offering a natural and practical alternative for those without the budget for studio shoots.
Key Highlights:
DIY headshots at home offer a cost-effective and practical alternative to professional studio shoots.
Fine-tuning iPhone settings like HDR, exposure, and zoom ensures optimal image quality for headshots.
Essential steps include setting up lighting, using an iPhone stand, positioning yourself properly, and utilizing portrait mode.
Tips include proper use of lighting, keeping the phone charged, cleaning camera lenses, relaxing before the shoot, and taking time with editing.
In this blog, we illuminate the process of capturing DIY professional headshots using your iPhone from the comfort of your home. We'll provide essential steps, image adjustments, and settings to ensure successful self-portraits.
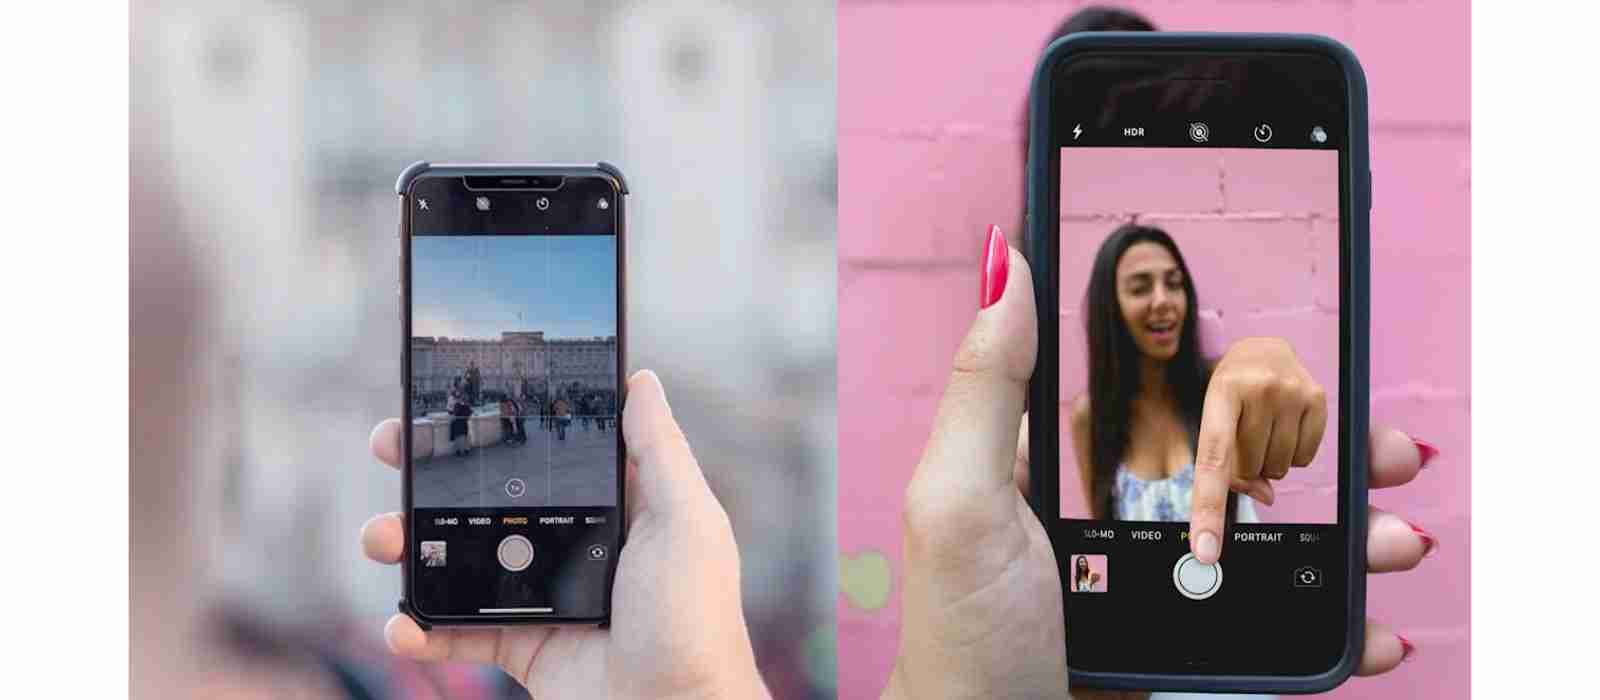
Adjusting iPhone Settings For Headshot
Before proceeding with background and lighting adjustments for your headshot, it's essential to fine-tune your iPhone settings. Below, you'll find a list of minor adjustments that can enhance the quality of your headshots
Keep The Grid

Undoubtedly, proper composition is essential for every image. In photography, the rule of thirds offers a technique to enhance the appeal of headshots. By utilizing a grid, you can divide the frame into nine equal parts, providing guidelines for positioning yourself at the forefront and center of the camera.
Turn Off HDR Auto

For many, turning off HDR is a big no-no. However, with HDR off, you avoid blending different exposures, preventing unnatural-looking headshots. Newer iPhone models also offer higher clarity, reducing pixelation. Professional photographers often disable HDR for more true-to-life headshots.
On iPhone XS, iPhone XR, iPhone 11 models, iPhone SE (2nd generation), and iPhone 12, go to Settings
> Camera, then turn off Smart HDR.
>Then from the camera screen,
> Tap HDR to turn it OFF/ON.
Adjust The Exposure Manually

No matter how advanced image processing gets on smartphones, manually adjusting camera exposure remains crucial for capturing excellent headshots and images. This manual adjustment can significantly alter the mood of the headshot. Higher exposure provides greater editing flexibility but beware of overexposing details. Experiment with various exposures to find the most appealing result for your headshots.
Open the camera app on your iPhone
Now frame yourself in front and center of the camera
Tap on the face in the photo to get into focus, a yellow box will appear.
Slide your finger alongside this yellow box.
Sliding up for brighter
Sliding down makes the image darker.
Forget About The Zoom
Avoid zooming in while taking a headshot; you can crop the photo later. Zooming in shifts the camera app from the primary to the secondary lens, causing a loss of details.
For a closer shot, lean forward until the object's face is in focus. Alternatively, if you're unsatisfied, utilize your phone's Bokeh mode to blur the background, reducing distractions.
Steps To Take Professional Headshots With iPhone
Let’s look at five essential steps for taking professional headshots with your iPhone:-
Step - 1 Set Up Additional Light Source

One of the initial steps is to ensure proper lighting for your headshot. You don't necessarily need to invest in studio lighting. Instead, opt for a lamp with warm white light and utilize rooms with ample natural lighting. If necessary, consider purchasing a ring light for additional illumination; they are cost-effective and versatile.
Step - 2: Get A Stand For Your iPhone

Finding a stand for your iPhone is quite easy; in most cases, you are going to find something at your home that can be used as a stand to keep your iPhone up straight during the time of the shoot. You can use books, power banks, water bottles, and other objects as an iPhone stand. If you are not able to find a good alternative, then you can buy a smartphone stand, which is again not that expensive.
Step - 2 Get Yourself Comfortable Chair
We recommend using a chair instead of a stool, sofa, or other furniture because of the posture that your body attains when you sit on it. A cushioned chair on which you can sit with your feet properly touching the ground is going to be the best choice for taking headshots.
Step - 3 Use Portrait Mode
If you don’t want to introduce a blur effect to the background in editing, you can use portrait mode to get this effect in your headshots. The iPhone comes with one of the best built-in portrait modes, which makes it possible for their owners to create an effect of shallow depth of field. It will automatically bring the subject to focus and make your headshot look more professional.
Step - 4 Position Yourself In Centre
Here, you will be using the gridlines that we asked you to set up earlier in your camera app. You need to place your face in the top or in the bottom third of the photo. This will make your face appear in the center of the frame.
Step - 6 Take Multiple Shots
Taking one or two shots isn’t enough to give you a choice, which is important; after all, you are going to use them to push your professional career forward. So take your time with the shoot and click as many pictures as you want before going to the editing table. Furthermore, try multiple angles, poses, and lighting to find the best look for yourself.
5 Important Tips For Taking Professional Headshots on Your iPhone
Now that you have a clear idea of what needs to be done to capture a good headshot using your phone, let's delve into some tips and tricks to maximize the quality of headshots taken with your iPhone.
Tip 1:- Proper Use Of Lighting
To enhance your headshot, it's essential to control the lighting to minimize harsh shadows and achieve a naturally bright shot. Avoid excessive lighting, as it can create an unnatural appearance. Opt for soft lighting in headshots for optimal results. If unsure, natural light from opened curtains can be an excellent option to illuminate your shots.
Tip 2:- Keep Your Phone Charged

You don’t really want to be in a situation where you have done all the prep, and when you open the iPhone, it shows that you need to plug it in for charging. Keeping your phone charged is important as you don’t know how long it is going to take you to find those perfect shots that give you satisfaction and wrap up your setup.
Tip 3:- Clean Your Camera Lenses

Often, people overlook the importance of cleaning their iPhone lenses before taking a picture. This oversight leads to blurry images, reduced detail, and other minor issues that diminish the quality of your photos. Using a cloth, preferably microfiber, to remove dust particles from your lenses can greatly improve the clarity of your photos. Compare before and after photos to see the difference for yourself.
Tip 4:- Relax Yourself Before The Shoot
After building your own personal studio at home, your body is going to feel tired from all the work. So before sitting in front of your iPhone’s camera, it is best to shower or wash your face. Besides this, if it is possible, then do some physical exercise for a few days prior to your headshot; it will allow your skin to glow, which ultimately makes you look younger.
Tip 5:- Take Your Time With Editing
When transitioning your headshots to the editing phase, it's crucial to keep things simple and avoid over-editing. Your headshots needn't resemble cinematic shots from a Hollywood film. It's best to proceed with editing gradually and seek second opinions by sharing the edits with family and friends.
Conclusion
Taking DIY headshots at home is surprisingly easy! By following the steps outlined above, you can capture incredible headshots for your résumé, actor portfolio, website, and other essential platforms. Share your experience in the comments and feel free to add any extra insights for fellow DIY enthusiasts. Keep learning, keep smiling!
Frequently Asked Questions
1. Can I take professional-quality headshots with my iPhone?
Yes, you can achieve professional-quality headshots with your iPhone by following proper lighting, composition, and editing techniques.
2. Do I need professional studio equipment for DIY headshots?
No, you can use simple setups like lamps and natural lighting along with your iPhone to capture professional-looking headshots at home.
3. How do I ensure my DIY headshots look professional?
Pay attention to lighting, composition, and posing. Take multiple shots, experiment with angles, and keep editing subtle for a polished result.
4. What should I wear for DIY headshots?
Wear professional attire that suits your industry or purpose. Avoid distracting patterns or colors and opt for solid colors that complement your skin tone.
5. How can I make my DIY headshots stand out?
Focus on capturing genuine expressions, maintaining good posture, and choosing a clean, uncluttered background. Experiment with different poses and expressions to showcase your personality.